
- Mon May 02, 2011 8:16 pm
#2956822
Aid1987's EP3
I thought it was about time to create a build thread as I’ve been a member for nearly three years and had the car for over a year but I didn’t want to start one until I had done a few things so here it is.
Standard extras:
- Air-conditioning
- Fog lights
Engine:
- Tegiwa M carbon intake (Hondata air box mod, CAF and K&N previously)
- SFS intake hose (black)
- OEM oil cap (Spoon cap previously)
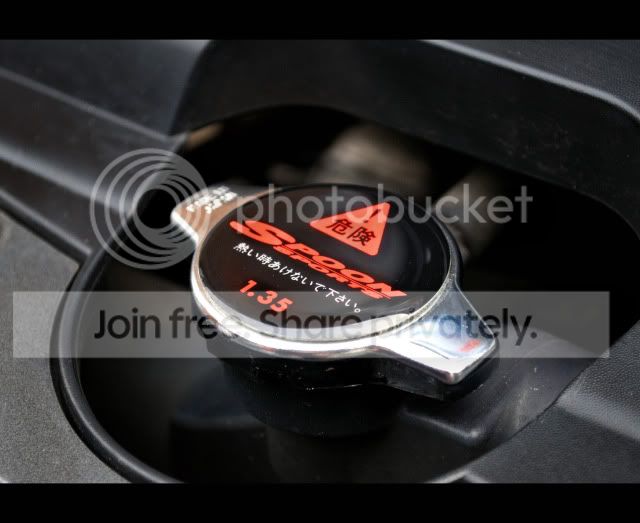
- Spoon radiator cap
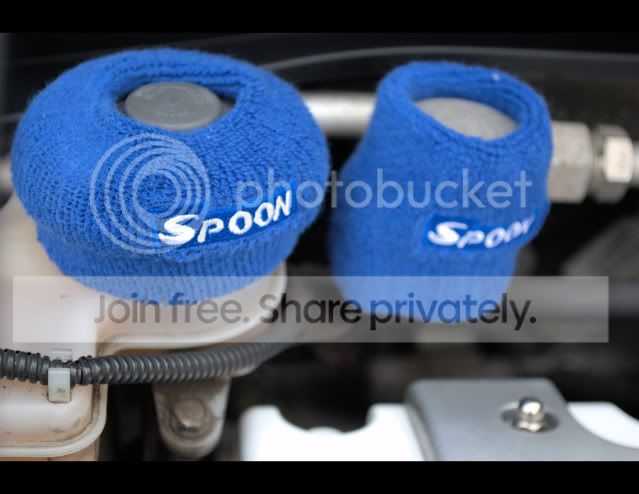
- Spoon socks
- Audi Ibis White rocker cover, page 1 (re-sprayed)
- Honda Midnight Purple rocker cover, page 2 (re-sprayed)
- Custom Turquoise rocker cover (current)
- New OEM rocker cover nuts
- New OEM rocker cover washers
- Tegiwa silver and black washers/bolts
- Password: JDM silver battery tie
- USDM orange dipstick
- Carbon inlet cover (page 2, now removed)
- Carbon plug cover
- R8BYB 2.5” un-silenced b-pipe
- J’s Racing C-304 60R exhaust
- Energy Suspension engine mount inserts
- RBC manifold, bored to 70mm (wrinkle black finish)
- Hondata thermal gasket
- Hybrid Racing 70mm throttle body (black)
- Hybrid Racing fuel rail (black)
- Solid Fabrications exhaust manifold (with Sports CAT)
- K100 mapped at TDi (241.6 bhp)
Suspension:
- SPC rear camber adjusters
- Meister-R Zeta R coilovers
- JDM rear anti-roll bar (sprayed Audi Ibis White)
- Polyurethane anti roll bar bushes (front and rear)
- New track rod ends
- New drop links (front and rear)
- FRSU
Toe FRONT: 0
Toe REAR: 0
Camber FRONT: -1.2 degree
Camber REAR: -1 degree
Transmission:
- Hybrid Racing shifter bushes (Tegiwa solid bushes previously)
- Tegiwa short shifter
- Spoon magnetic sump plug
- Spoon magnetic gear box plug
- Exedy stage 1 clutch + new release bearing
- Powerflex gear box mount inserts
Wheels/Brakes:
- Hammerite smooth black brake cailpers
- Audi Ibis white OEM wheels + new Honda ‘H’ badges
- Bridgestone Potenza tyres 205/45/17 (2010-2012)
- Continental Sport Contact 2 tyres 205/45/17 (2012-present)
- Buddy Club P1 Racing ii Plus (Vauxhall Glacier White)
- Continental Sport Contact 5 XL tyres 215/45/17 (2014-present)
Exterior:
- LED sidelights
- 6000k HID headlights
- OEM pre-facelift rear lights
- U.S. import rear plate (330mm x 152mm)
- De-badge “Civic” from boot
- JDM Honda Access wind deflectors
- Yellow tinted fog lights, page 2 (removed)
- Clear 3M wrapped fog lights
- Headlight refurb
- Front end re-spray
- De-badged ‘Type R’ decals from side skirts
- USDM style ‘i-VTEC dohc’ decals above side skirts
Interior:
- Honda Nighthawk Black centre console and handles (3M carbon wrapped, removed)
- Alpine head unit + ipod lead in glove box
- Skunk2 gear knob
- Buddy Club Type A gear knob
- Rear seats removed
Consumables:
- Hamp oil filter
- 5w40 Fuchs Titan Race Pro S fully synthetic oil
- NGK iridium spark plugs
- OEM coolant
- Amsoil synthetic gear box oil
- Shell V-Power petrol
Future plans:
- OEM wheel refurb (gold)
- New wheels
- Underseal
- OEM Recaros
- Baffled sump insert
- Poly bush kit
- Jazz washer jets
- New brake discs
- Goodridge stainless brake lines
- Caliper refurb
- New boot plastics
- New passenger arch liner
- New splash guard
- New front ‘H’ badge
- New rear ‘Type R’ badge
- J’s brace front and rear
- Re-spray stripped out rear
- Alloy rad and new air con rad
- JDM/”drop in” cams
- JDM or MFactory LSD
Current (2014)

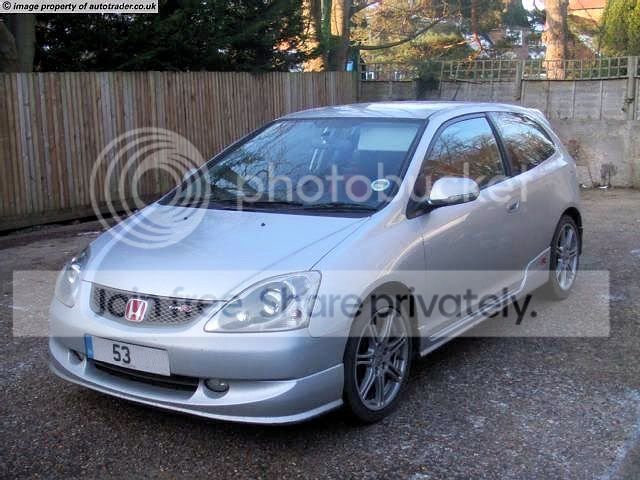
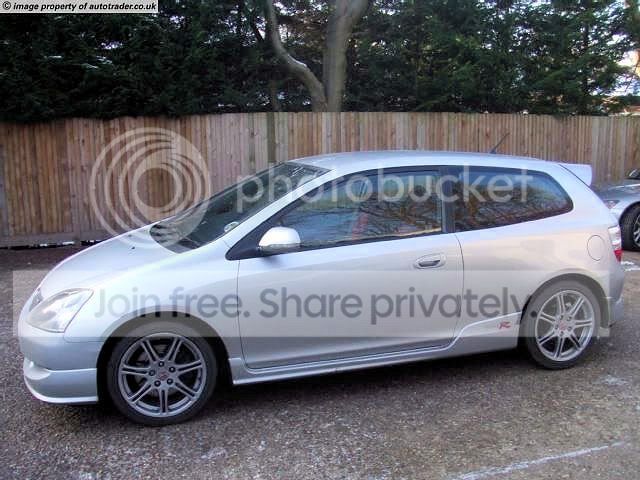
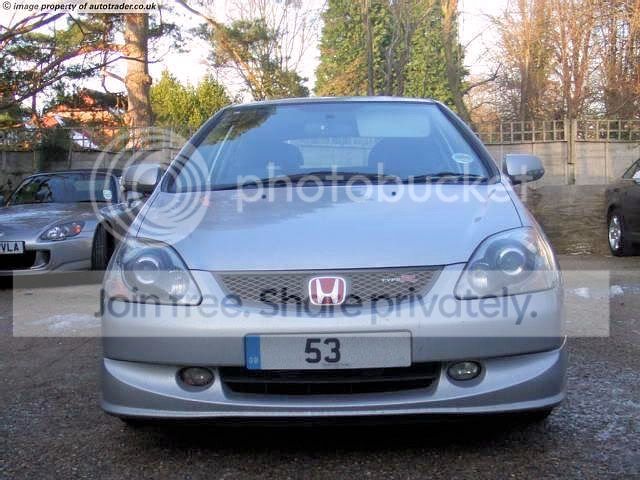
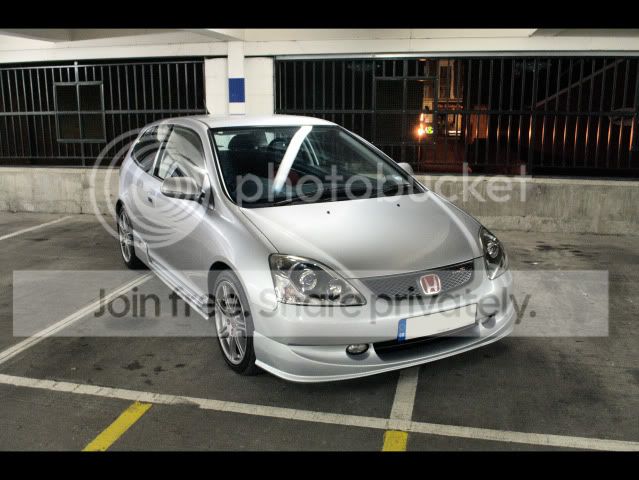
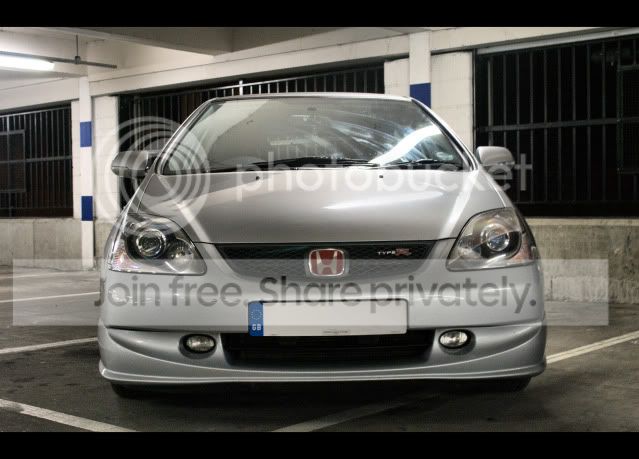
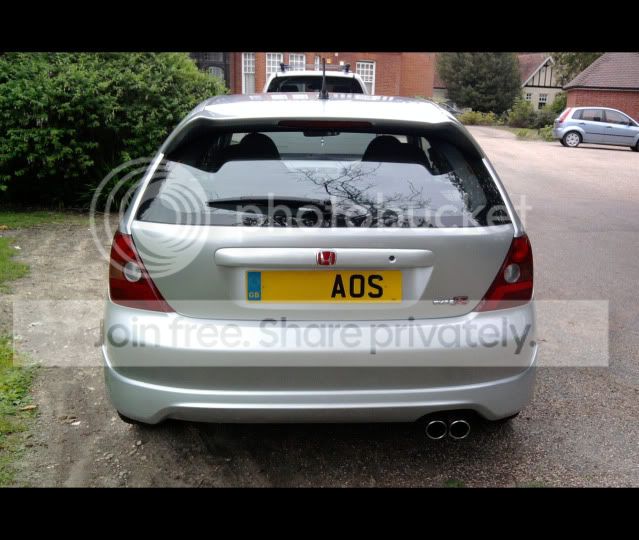
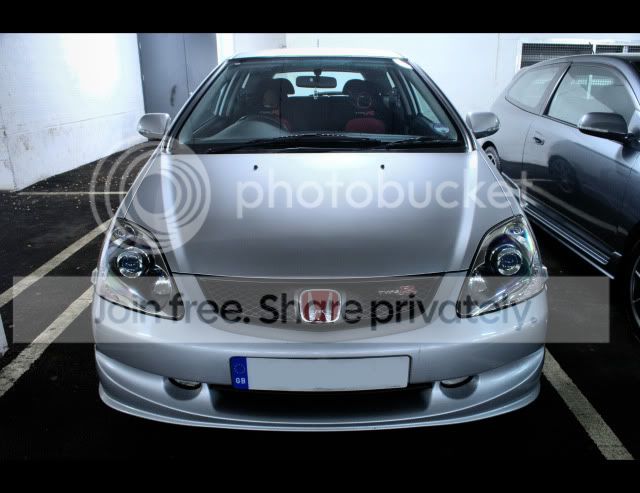
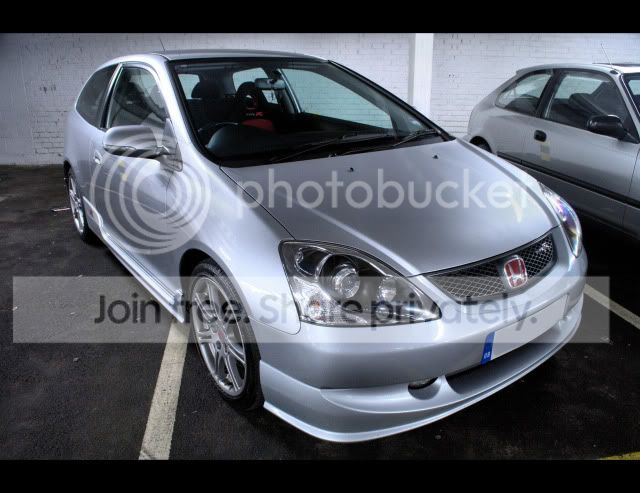
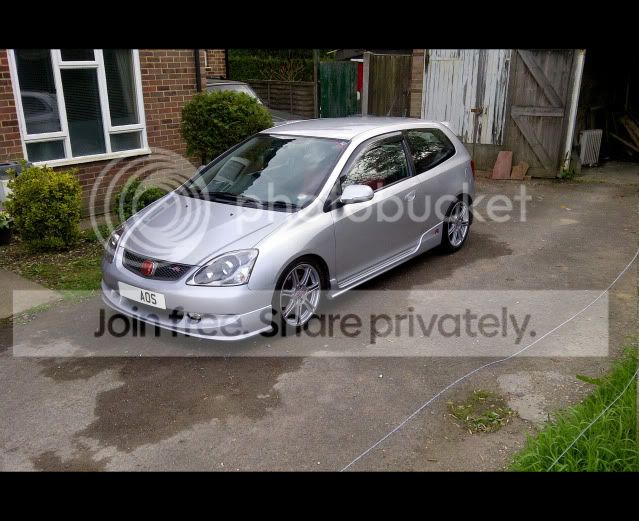
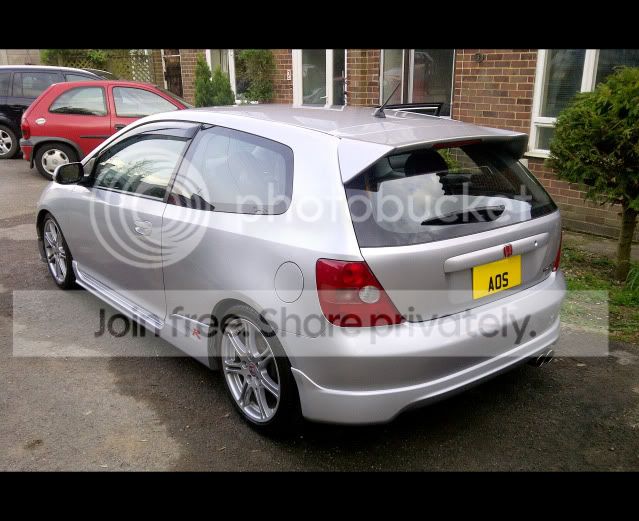
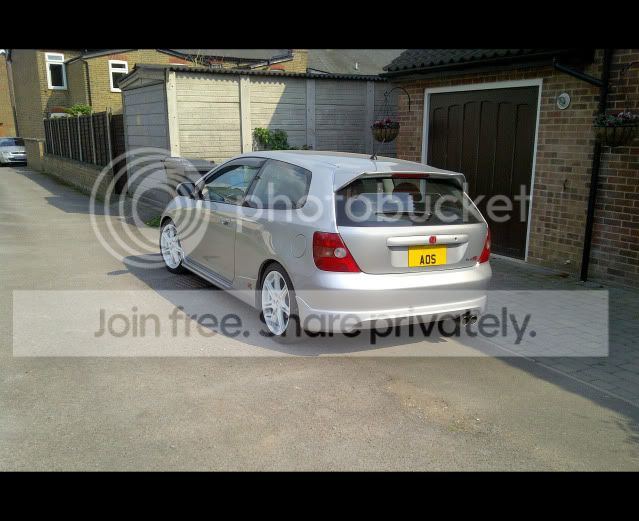
Now for some photos, these were from the Autotrader advert online.
The interior was immaculate! There’s a better photo further on of what it looks like. I was so happy with the car, but it would hard not to be as this was my second car and quite an upgrade from a 1.2L 8v mk2 Fiat Punto!
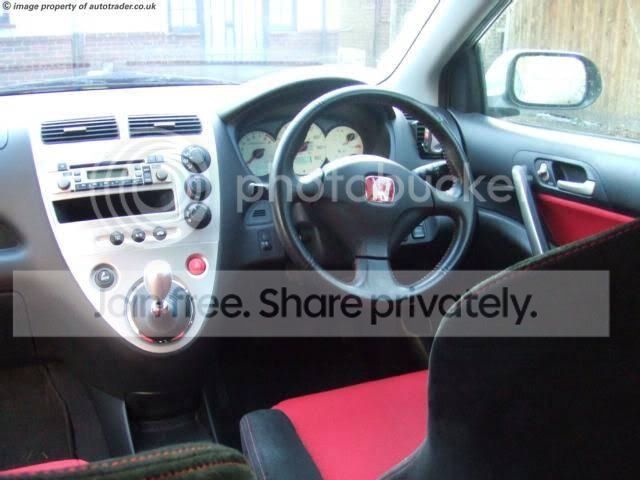
This next photo is the only photo I have of the dash before I put my Alpine head unit in and wrapped the dash.
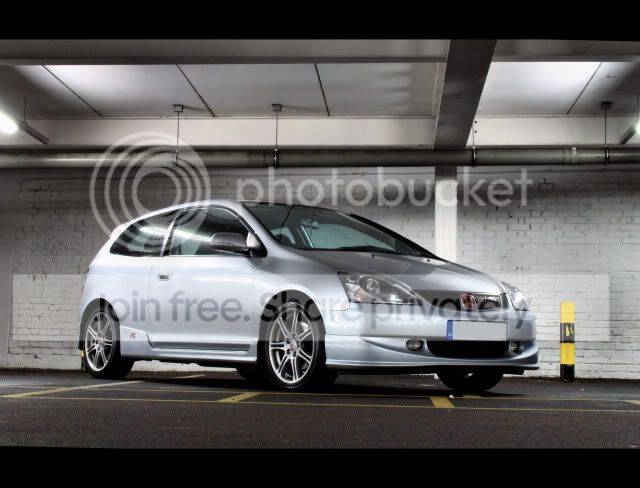
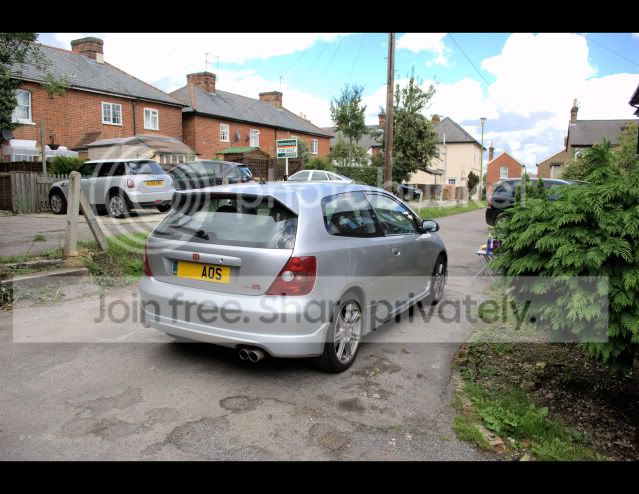
As everyone does after buying a new car I gave it a wash and took some photos.
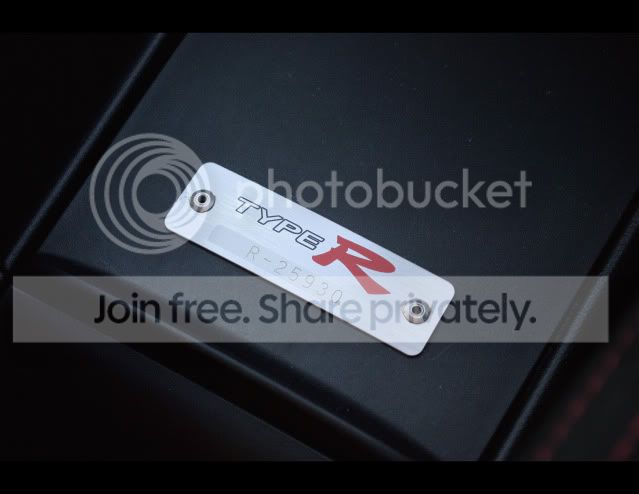
Type R number.
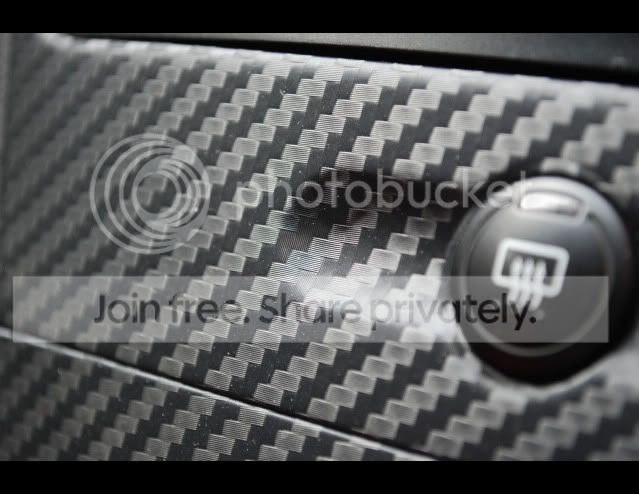
My first “mod” was to wrap my dash using 3M carbon film/vinyl, a friend of mine knows someone who works for a vinyl/graphics place and we managed to get about 1.5-2m² of it for £30 between us (he was wrapping his dash as well)!
Anyway, it was quite a fiddly and time consuming job (about 4-5 hours) but was really good stuff to work with once I had gotten used to it. We just used a hairdryer and heated it up and it went really fluid if you know what I mean. This meant you could just wrap around the dash and peel it off and re-apply if necessary, and it allowed you to stretch it a lot more than what you would think without distorting the pattern.
Here’s a close up of the vinyl, as you can see its really good quality stuff and improves the look of the interior loads IMO.
Finished dash.
Handles had to be done as well of course. :thumbup:
Here’s a quick photo of the interior, gives you a better idea of how clean it was when I bought the car.
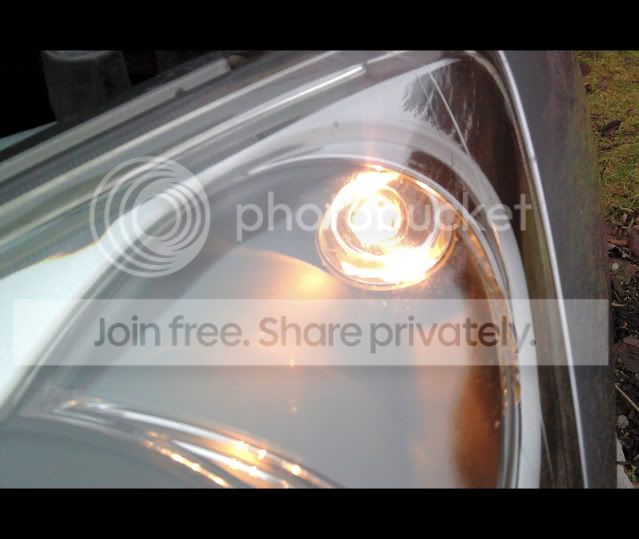
Next on the list was to change to sidelights and headlights for some LED’s and HID’s courtesy of Lee H on here (very good HIDs by the way!). I opted for the 6000K including bulb holders as well. I didn’t use the sidelights Lee supplied free with the HIDs because they were more blue than white so got some prism ones from Halfords (recently replaced them after a year of use for some I found on eBay which were half the price and brighter).
Sidelight BEFORE
Sidelight AFTER
Headlight BEFORE
I bought some Velcro circular pads from Halfords which were in “trial” packs of 2 for about £1.49 and used these to attached to ballasts to the inside of the arches and worked really well.
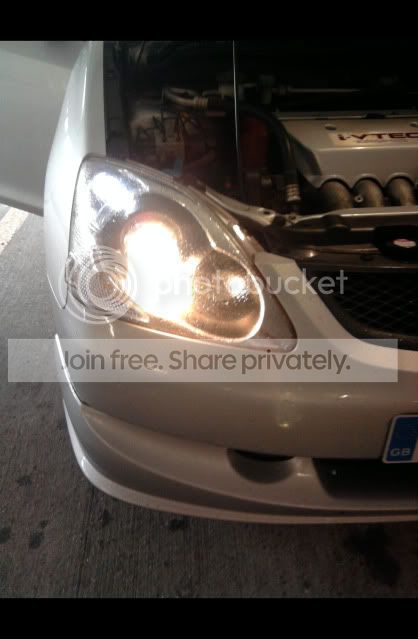
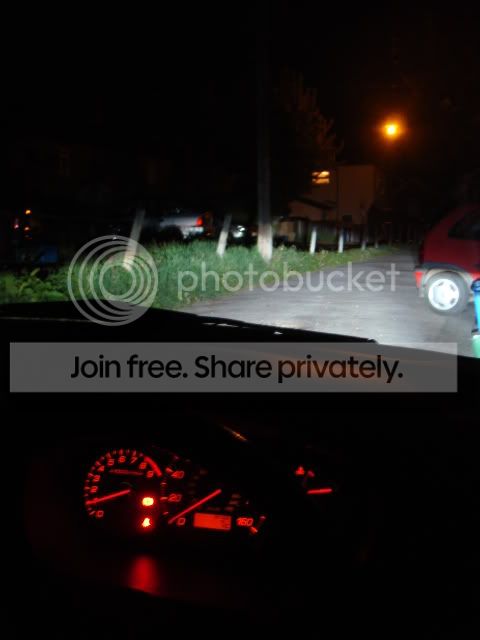
Here’s a couple of photos of the HIDs at night.
Next up I did a cheap but simple mod to tidy up the rear, I de-badged the “Civic” logo from the boot.
Before
Halfway
After
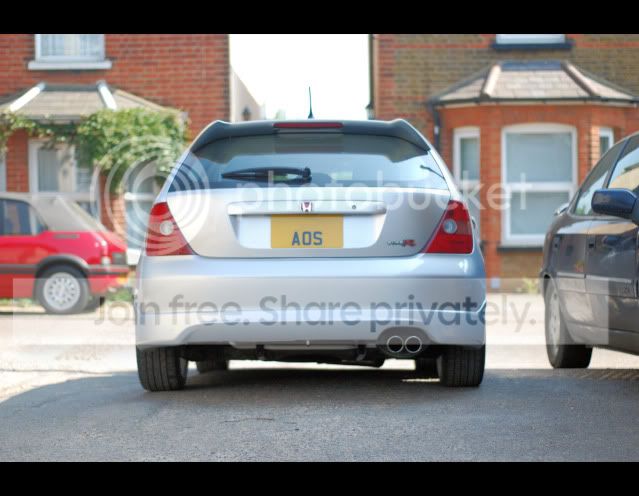
To help tidy up the rear end even more I decided to swap the rear lights for a set of pre-facelift ones I bought from good old eBay and put my private plate (courtesy of my girlfriend) on which I had on retention from my previous car.
Horrible “lexus-style” rear lights. Honda why did you change them on the facelift models!?
Pre-facelift lights made the rear look a hundred times better.
Honda Orgy mini meet
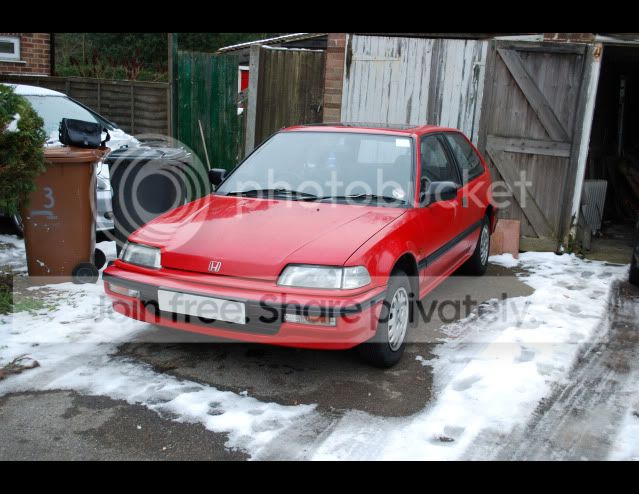
I got a new job which required me to do A LOT more driving so I came to the decision that I wanted to buy a daily driver so I wouldn’t put the mileage on the EP3. After a lot of searching and test driving old bangers (some terrible Nissan Micras) for around £500 I upped my price range to £800 and bought a 1991 1.4L Honda Civic GL.
Now named “Henry” by my girlfriend as in “Henry the Honda” he was in even better condition that the EP3 when I bought it! He only had 45K on the clock and you could’ve eaten your dinner out of the engine bay it was that clean! He must have been garaged and there’s no paint fade and is fully under sealed and he even has full electrics and an electric sunroof!
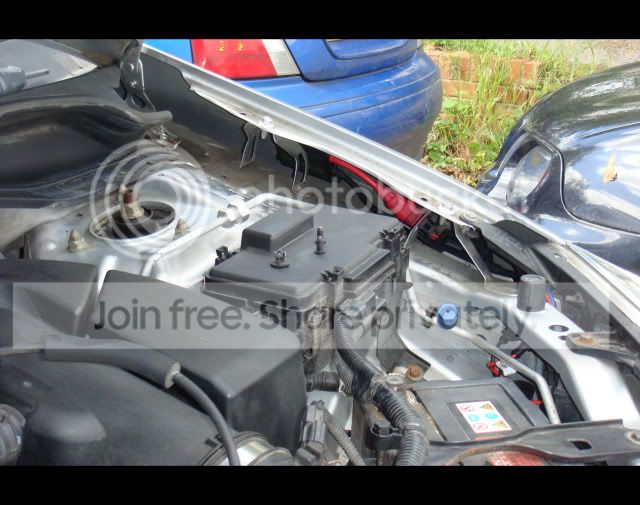
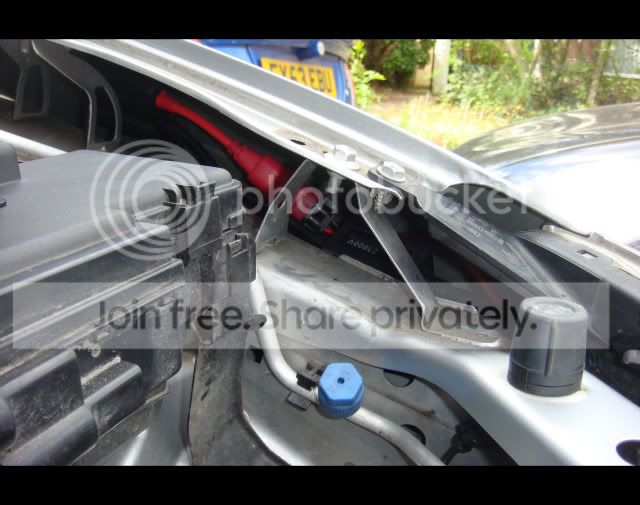
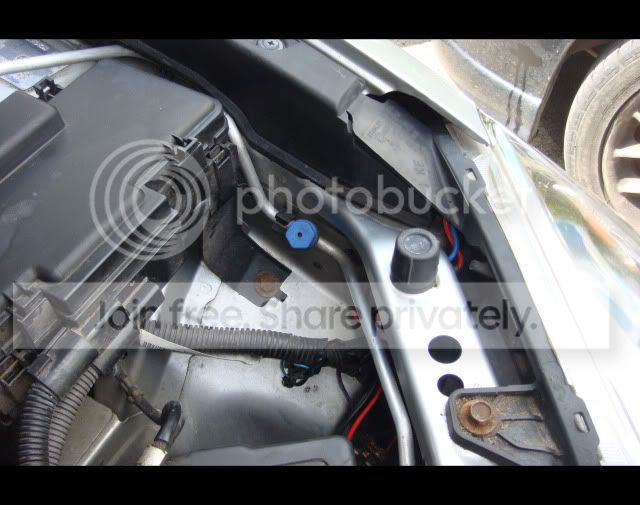
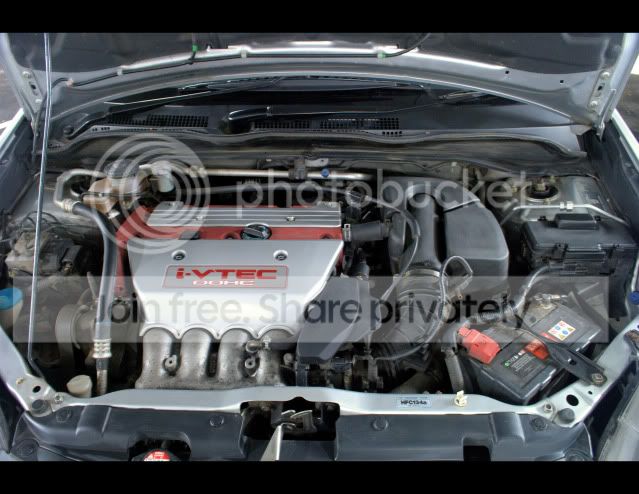
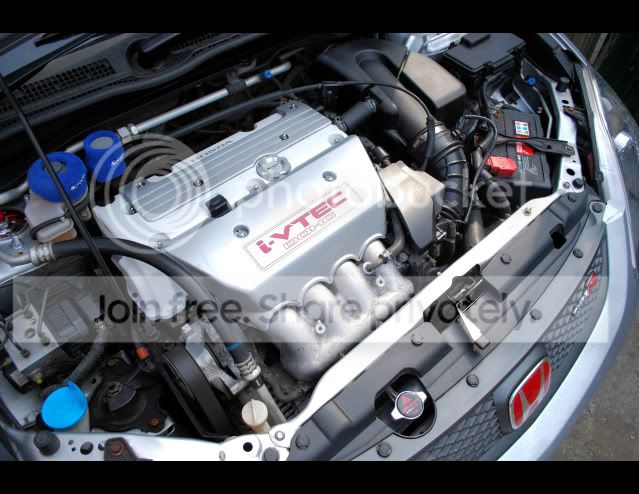
Back to the EP3 and I gave the engine bay a good clean as it was pretty dirty when I bought it and resprayed the rocker cover a long with some Spoon dress up accessories.
Before
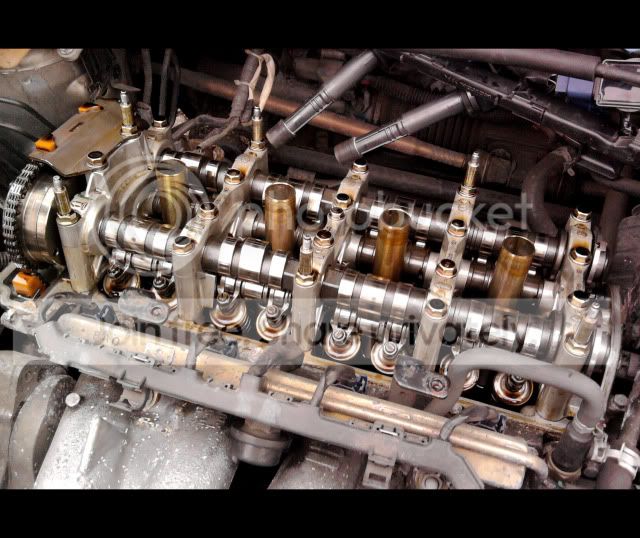
Cover off
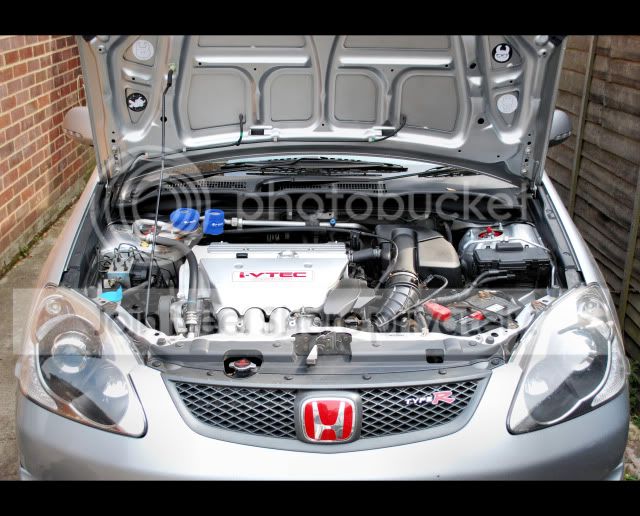
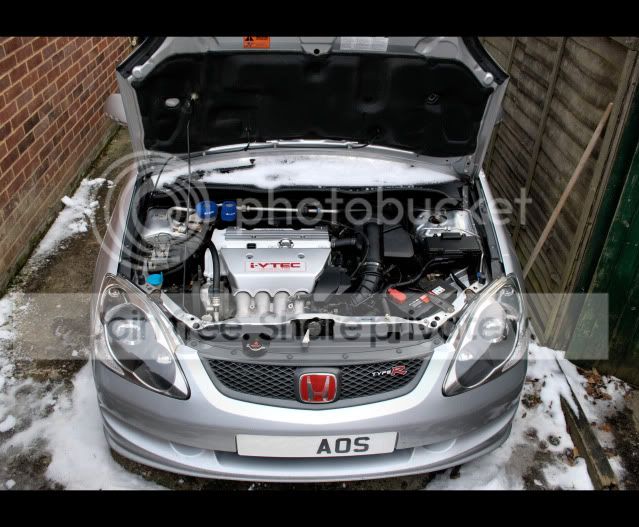
After
Now me and two of my best mates all had a Honda so we decided to form small local club as there seems to be more Honda’s in our area and a few other people we knew and worked with had Honda’s. In the end we came up with a club name (Honda Orgy) and sticker!
Now I had a daily I could start saving again and this time it was for suspension.
Again, after more research I decided I wanted to get the EP on coilovers and decided I wanted a set of Meister-R Zeta R’s as well as some rear camber adjusters and a JDM rear anti-roll bar. I also planned to buy all these parts, fit them and get a FRSU for the first Civiclife South Mimms meet this year.
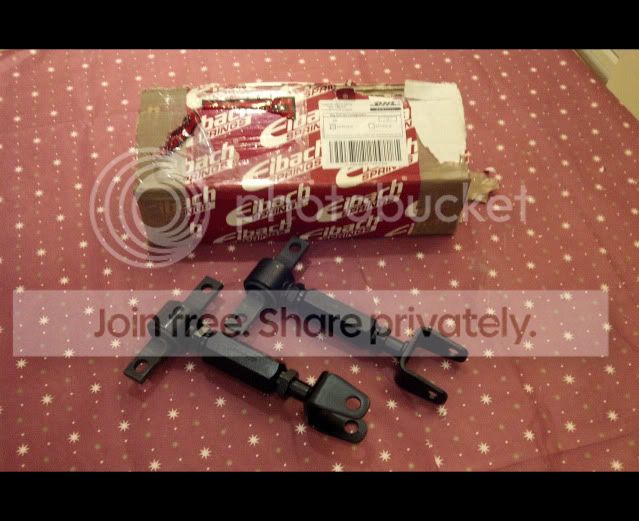
Firstly I ordered some SPC camber adjusters from Eightspeed. Luckily I ordered these when I did (February) as Stevie had some real problems getting them from Eibach as they kept delaying the shipment date but after about 5 weeks I received them!
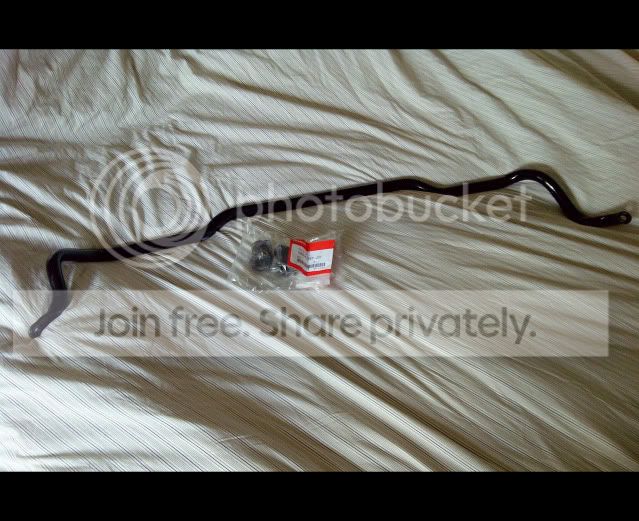
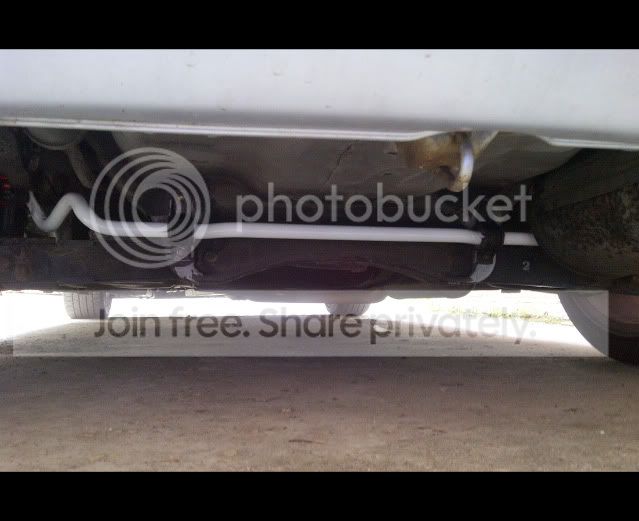
JDM anti-roll bar and OEM bushes from Hond-R
I had some white paint left over from my rocker cover so thought I’d spray the roll bar too!
JDM ARB fitted
While saving for a set of Meister-R’s I ordered some new plates as I had put the ones I had on my first car which were screwed on but the screw holes didn’t line up on the EP so just stuck them on in the mean time.
This obviously looked a bit crap as you could see the holes in the plate so ordered a plain UK front plate and a U.S. import plate from DEMONPLATES and this fitted perfectly on the boot without going too low which some square plates have a tendency to do.
Old plate
New square U.S. import plate. Popped down to Halfords and bought more trusty “trial” packs of Velcro pads and fitted both plates using them so that I can switch the plates over in a couple of seconds.
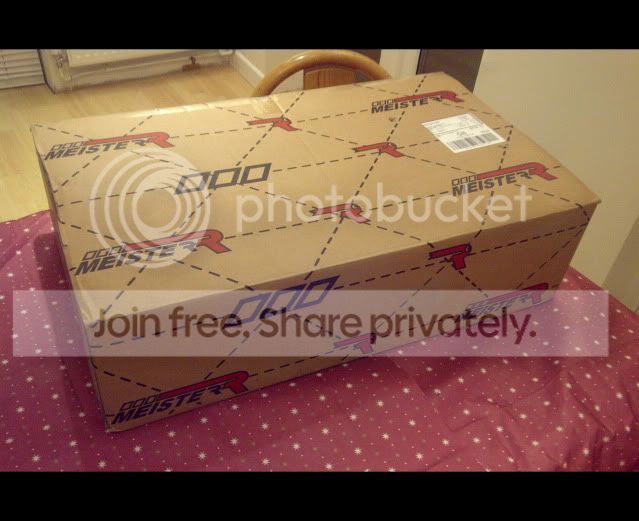
After more saving I eventually got a big delivery!
Fitting the coilovers and adjusters wasn’t too difficult with the right tools!
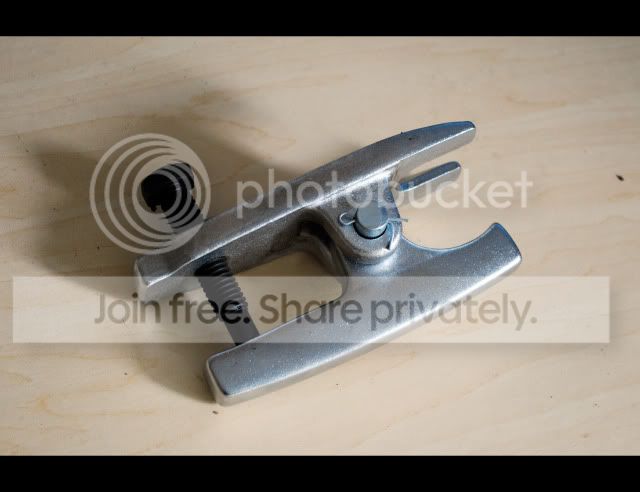
Started with the front as this is what most people recommend, but the first problem I encountered was trying to split the old ball joint from the steering arm. After a lot of trying I ended up buying a ball joint splitter which was useless and ended up destroying the end of one my track rod ends which resulted in me going back to buy the other two types of spitter hoping that on of them would work.
The second one I used (the more expensive one at about £23) worked straight away with no problems at all, I just wish I had bought this in the first place!
If anyone is going to fit coilovers themselves and hasn’t got one of these already, I would strongly advise getting one as it makes life so much easier!
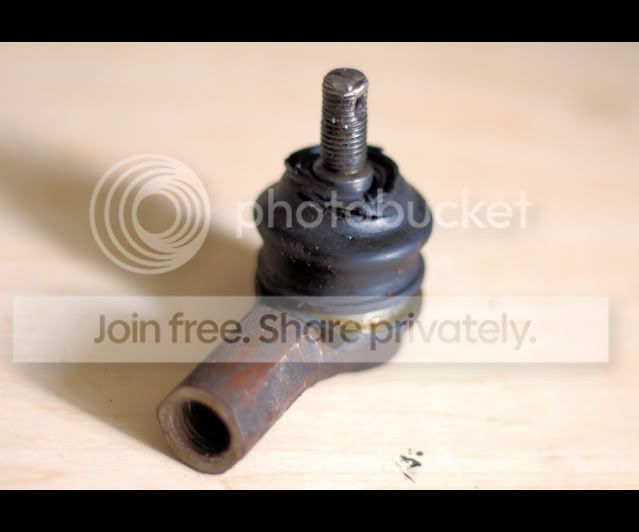
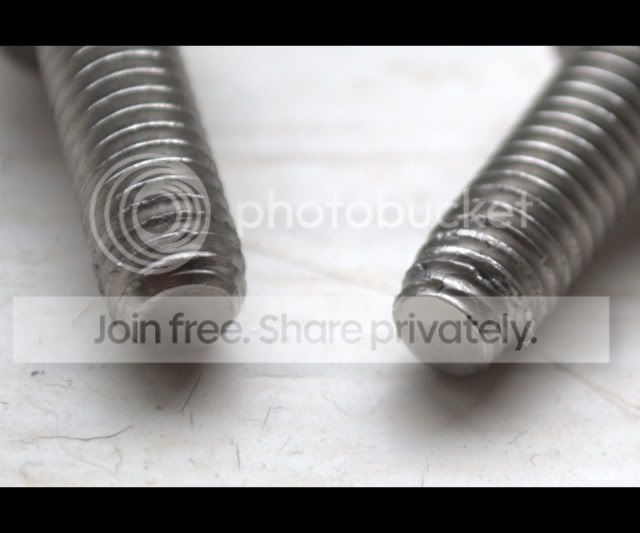
Old TRE with torn boot (due to not originally having a ball joint separator and me going at it with a number of different implements) and if you look closely you can see where the first ball joint separator ruined the end of the thread so I couldn’t put the nut back on.
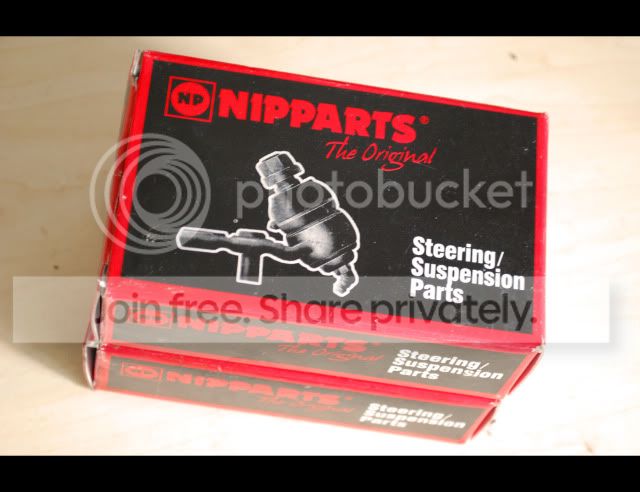
New TRE’s ordered from IMPORTCARPARTS
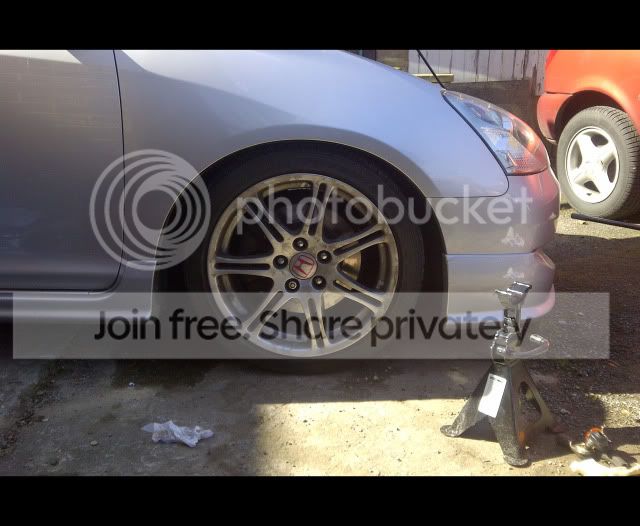
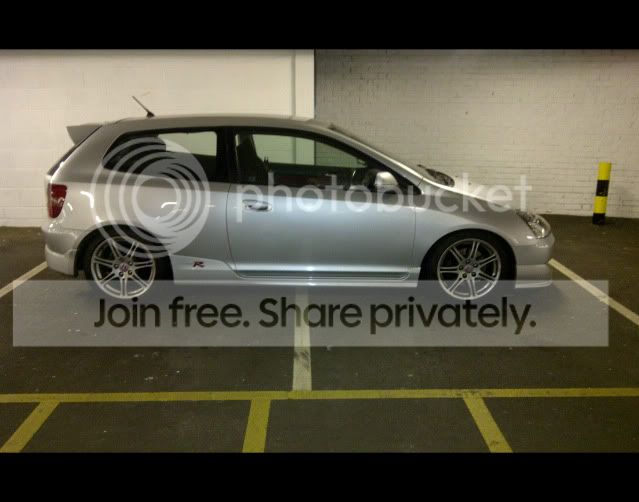
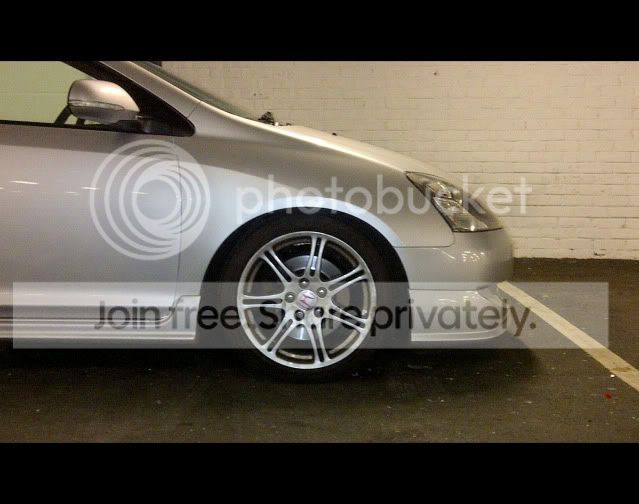
Took a quick photo after lowering the front back down and as you can see it’s a lot lower than it was from the factory!
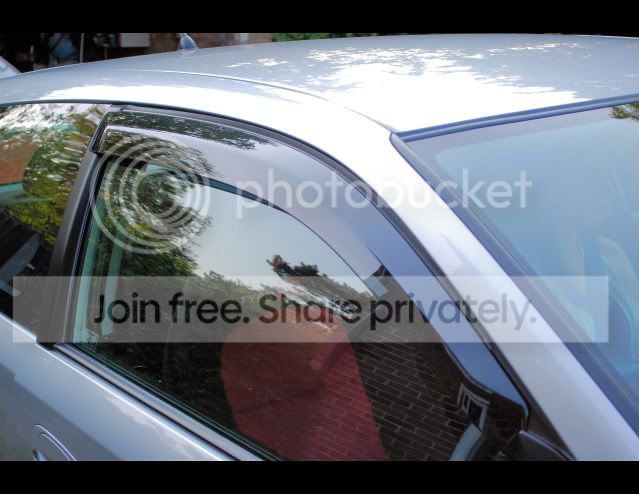
Next I took it for a quick drive to make sure everything was OK, I must admit it felt terrible to drive but I had already booked in a FRSU with Hond-R for a couple of weeks time and this would also let the coilovers settle. I also ordered some Honda Access JDM deflectors from Hond-R while I was at it as they don’t keep them in stock (come directly from Japan) and planned on picking them up when I got my FRSU done.
I took a day off to go to Hond-R to get the EP3 set up, but had some problems! Hond-R actually take to car somewhere else who have a 6 point laser geometry machine or something but Russ said the car didn’t feel right with the settings I gave him and even worse the camber plate bolts seized in both directions so could be taken out or tightened up fully!
In the end I had to get an extra day off work, and stay in Oxfordshire for the night but Maz kindly found me a B&B nearby and booked me a room. :thumbup:
The next day Russ began fixing the seized bolt problem by removing both struts and drilling out 5 bolts which had become seized and replacing all 8 bolts with higher tensile bolts they had spare which originally came from a set of BC coilovers.
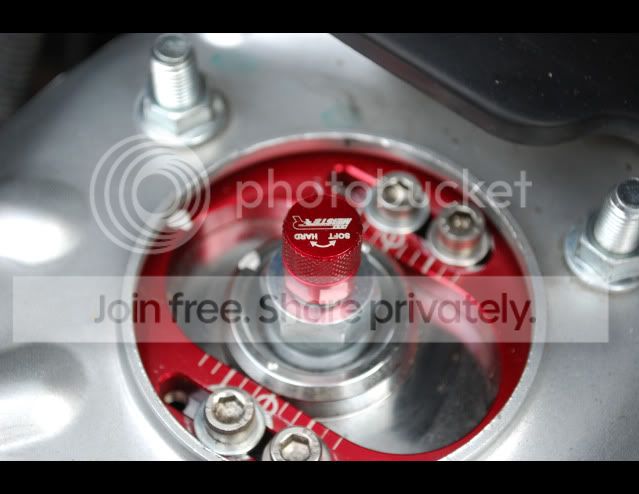
Damage to top mount bolts which look like they became serrated which is maybe why they seized if the chrome plating came off while doing up the bolts.
Close up
Top mount after struts refitted and new high tensile bolts in place.
Everything was all sorted now and I was able to drive home! Then I gave the car a good wash after I got back.
JDM wind deflectors fitted
Now I had everything sorted for Mimms I thought I might try to get the wheels refurbished and re-sprayed as they had some light scuffing and corrosion. I know someone who has his own workshop and does some spraying and wheel refurb’s on the side to make some extra money but he only had time to do it on the day before the Civiclife Mimms meet.
As you all probably know, modifying cars isn’t always straightforward and he ended up respraying them about three times because the paint was reacting with the vapour from the tyre gel I use was giving off (he warned me there might be a problem when I dropped my car off on the Saturday morning).
He kindly worked on them up until Saturday night and said he would see how they turned out in the morning after drying (this was before he had even lacquered them). I was starting to think that I wouldn’t be driving to Mimms anymore. I bought some new ‘H’ badges from the EPCIVIC forum as they were exactly the same as the originals (not the squarer type ones like on eBay).
I had also painted my callipers a few days before getting my wheels done, I rubbed down and painted them using Hammerite Smooth Black as I’m not too keen on brightly coloured OEM callipers and think a subtle colour looks better.
Calipers BEFORE
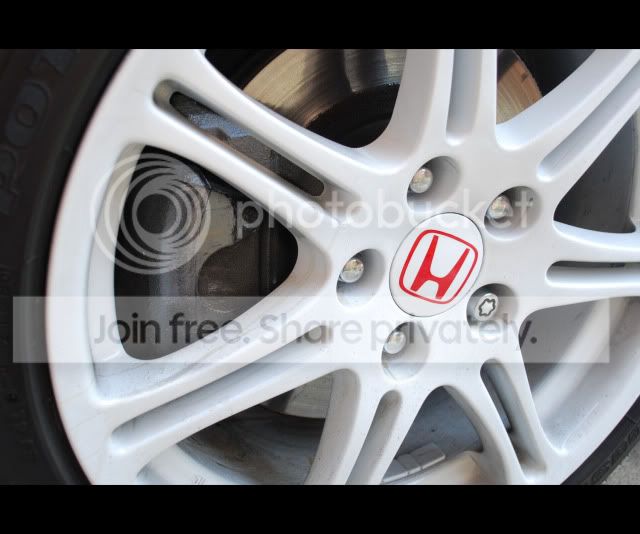
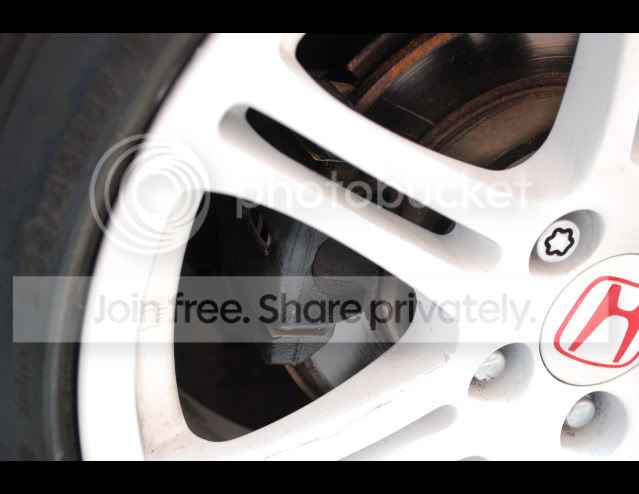
Calipers AFTER and white wheels.
So it got to Sunday (day of the Mimms meet) and the plan was for me and about 10 other Honda’s from my area to convoy down together but unfortunately I couldn’t meet them in time but thankfully my wheels were all sorted!
I was a bit worried driving down to Mimms, trying to catch up with the convoy as I thought I might get out of the car to find all the paint had sprayed up along the side of my car but luckily all was good when I got there. I even saw a few of my mates in the que getting into Mimms so I made good time on the way down!
Couple of Mimms photos.
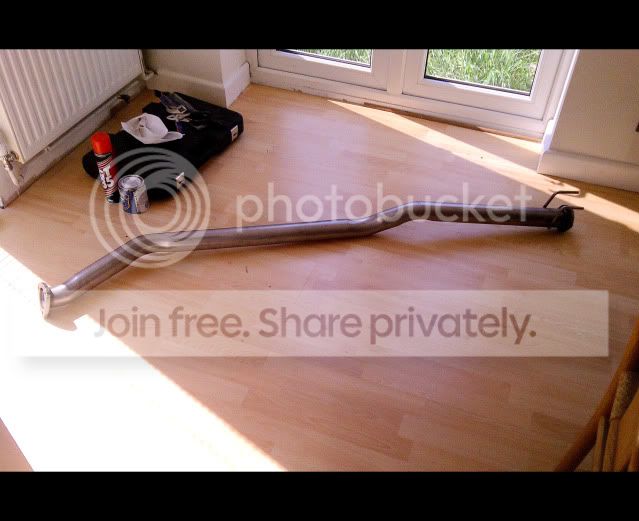
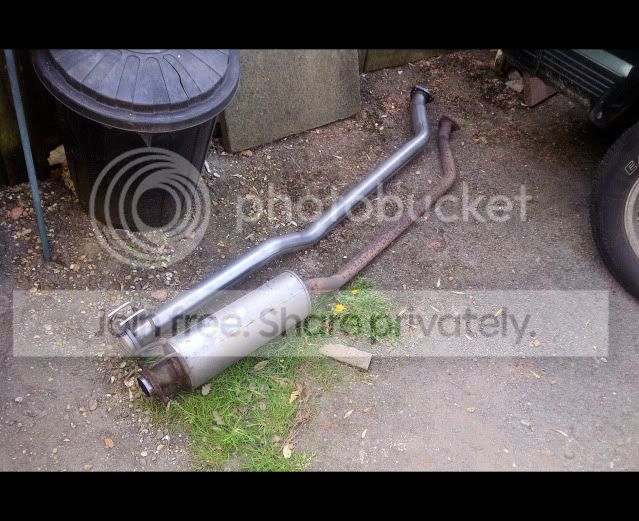
Next on the list was something to make the car sound a little nicer, and after reading about the EP3’s breathing system I read that the OEM b-pipe is one of the more restrictive elements. So looking around the forum some more I found R8BYB’s thread and saw he had silenced and un-silenced b-pipes for sale, so sent him some money and about a week later I had an un-silenced R8BYB pipe sitting at home waiting to be fitted!
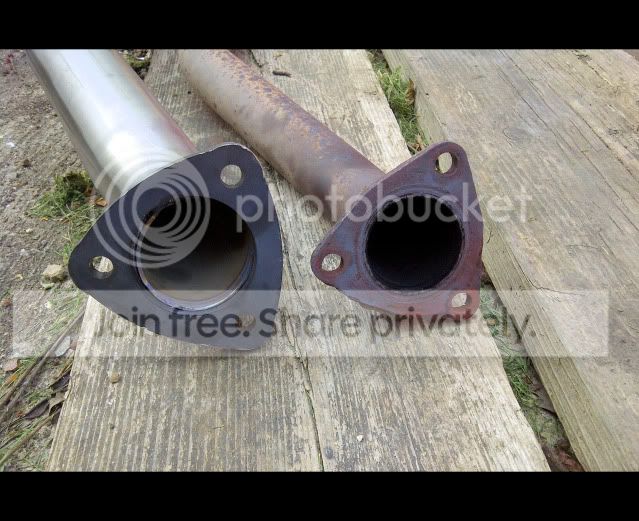
Comparison photos
All bolts removed with no damage to the CAT!
R8BYB b-pipe fitted
The bolts holding the OEM pipe in place were a right nightmare, the two at the back weren’t as bad but one did shear but I replaced all the bolts with new ones from Honda for a grand total of £1.92! The 3 bolts attaching the OEM pipe to the CAT were really difficult to remove, I ended up getting a friend of a friend to come round with a blow torch and knock them out for me and luckily the CAT wasn’t damaged in the process! The only other thing I needed extra was a Ford Transit (94’ onwards IIRC) gasket to sit between the new pipe and CAT.
I reset the ECU and started her up and WOW what a difference! The EP3 sounds so much better now I absolutely love it! The best way I can describe it is that it has a lower pitch and when you floor it it has a really nice raspy tone to it! If you are unsure I would really recommend one especially at the price Rob sells them for plus there is no droning on motorways if people are wondering!
I done the Hondata airbox mod a few months before fitting the b-pipe and I felt like it changed the pitch and throttle response slightly in mid range and seems to sound a lot better with the b-pipe too.
A few weeks later I went for a little back road blast with the two other founding members of Honda Orgy!
Quick photo
Last weekend we decided to go to a Japanese sushi restaurant in London and gave us an excuse to have a little drive too! Stopped off afterwards to take some more photos.
We went for a quick blast through a tunnel while in London (not sure which one) and the b-pipe sounds AMAZING!! it put a massive smile on my face all night!
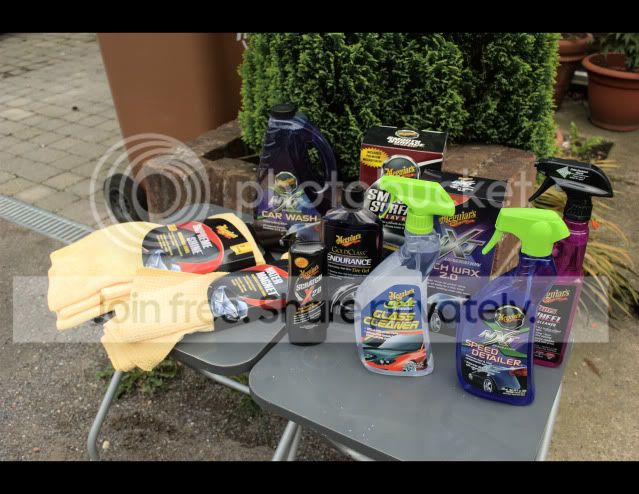
Got to service the car next weekend so got some bits along with 5L of Mobil 1 for £30 from a mate who works in the trade.
…and that’s everything I’ve done up until now.
I thought it was about time to create a build thread as I’ve been a member for nearly three years and had the car for over a year but I didn’t want to start one until I had done a few things so here it is.
Standard extras:
- Air-conditioning
- Fog lights
Engine:
- Tegiwa M carbon intake (Hondata air box mod, CAF and K&N previously)
- SFS intake hose (black)
- OEM oil cap (Spoon cap previously)
- Spoon radiator cap
- Spoon socks
- Audi Ibis White rocker cover, page 1 (re-sprayed)
- Honda Midnight Purple rocker cover, page 2 (re-sprayed)
- Custom Turquoise rocker cover (current)
- New OEM rocker cover nuts
- New OEM rocker cover washers
- Tegiwa silver and black washers/bolts
- Password: JDM silver battery tie
- USDM orange dipstick
- Carbon inlet cover (page 2, now removed)
- Carbon plug cover
- R8BYB 2.5” un-silenced b-pipe
- J’s Racing C-304 60R exhaust
- Energy Suspension engine mount inserts
- RBC manifold, bored to 70mm (wrinkle black finish)
- Hondata thermal gasket
- Hybrid Racing 70mm throttle body (black)
- Hybrid Racing fuel rail (black)
- Solid Fabrications exhaust manifold (with Sports CAT)
- K100 mapped at TDi (241.6 bhp)
Suspension:
- SPC rear camber adjusters
- Meister-R Zeta R coilovers
- JDM rear anti-roll bar (sprayed Audi Ibis White)
- Polyurethane anti roll bar bushes (front and rear)
- New track rod ends
- New drop links (front and rear)
- FRSU
Toe FRONT: 0
Toe REAR: 0
Camber FRONT: -1.2 degree
Camber REAR: -1 degree
Transmission:
- Hybrid Racing shifter bushes (Tegiwa solid bushes previously)
- Tegiwa short shifter
- Spoon magnetic sump plug
- Spoon magnetic gear box plug
- Exedy stage 1 clutch + new release bearing
- Powerflex gear box mount inserts
Wheels/Brakes:
- Hammerite smooth black brake cailpers
- Audi Ibis white OEM wheels + new Honda ‘H’ badges
- Bridgestone Potenza tyres 205/45/17 (2010-2012)
- Continental Sport Contact 2 tyres 205/45/17 (2012-present)
- Buddy Club P1 Racing ii Plus (Vauxhall Glacier White)
- Continental Sport Contact 5 XL tyres 215/45/17 (2014-present)
Exterior:
- LED sidelights
- 6000k HID headlights
- OEM pre-facelift rear lights
- U.S. import rear plate (330mm x 152mm)
- De-badge “Civic” from boot
- JDM Honda Access wind deflectors
- Yellow tinted fog lights, page 2 (removed)
- Clear 3M wrapped fog lights
- Headlight refurb
- Front end re-spray
- De-badged ‘Type R’ decals from side skirts
- USDM style ‘i-VTEC dohc’ decals above side skirts
Interior:
- Honda Nighthawk Black centre console and handles (3M carbon wrapped, removed)
- Alpine head unit + ipod lead in glove box
- Skunk2 gear knob
- Buddy Club Type A gear knob
- Rear seats removed
Consumables:
- Hamp oil filter
- 5w40 Fuchs Titan Race Pro S fully synthetic oil
- NGK iridium spark plugs
- OEM coolant
- Amsoil synthetic gear box oil
- Shell V-Power petrol
Future plans:
- OEM wheel refurb (gold)
- New wheels
- Underseal
- OEM Recaros
- Baffled sump insert
- Poly bush kit
- Jazz washer jets
- New brake discs
- Goodridge stainless brake lines
- Caliper refurb
- New boot plastics
- New passenger arch liner
- New splash guard
- New front ‘H’ badge
- New rear ‘Type R’ badge
- J’s brace front and rear
- Re-spray stripped out rear
- Alloy rad and new air con rad
- JDM/”drop in” cams
- JDM or MFactory LSD
Current (2014)

Now for some photos, these were from the Autotrader advert online.
The interior was immaculate! There’s a better photo further on of what it looks like. I was so happy with the car, but it would hard not to be as this was my second car and quite an upgrade from a 1.2L 8v mk2 Fiat Punto!
This next photo is the only photo I have of the dash before I put my Alpine head unit in and wrapped the dash.
As everyone does after buying a new car I gave it a wash and took some photos.
Type R number.
My first “mod” was to wrap my dash using 3M carbon film/vinyl, a friend of mine knows someone who works for a vinyl/graphics place and we managed to get about 1.5-2m² of it for £30 between us (he was wrapping his dash as well)!
Anyway, it was quite a fiddly and time consuming job (about 4-5 hours) but was really good stuff to work with once I had gotten used to it. We just used a hairdryer and heated it up and it went really fluid if you know what I mean. This meant you could just wrap around the dash and peel it off and re-apply if necessary, and it allowed you to stretch it a lot more than what you would think without distorting the pattern.

Here’s a close up of the vinyl, as you can see its really good quality stuff and improves the look of the interior loads IMO.
Finished dash.

Handles had to be done as well of course. :thumbup:

Here’s a quick photo of the interior, gives you a better idea of how clean it was when I bought the car.

Next on the list was to change to sidelights and headlights for some LED’s and HID’s courtesy of Lee H on here (very good HIDs by the way!). I opted for the 6000K including bulb holders as well. I didn’t use the sidelights Lee supplied free with the HIDs because they were more blue than white so got some prism ones from Halfords (recently replaced them after a year of use for some I found on eBay which were half the price and brighter).
Sidelight BEFORE
Sidelight AFTER

Headlight BEFORE
I bought some Velcro circular pads from Halfords which were in “trial” packs of 2 for about £1.49 and used these to attached to ballasts to the inside of the arches and worked really well.

Here’s a couple of photos of the HIDs at night.

Next up I did a cheap but simple mod to tidy up the rear, I de-badged the “Civic” logo from the boot.
Before
Halfway
After
To help tidy up the rear end even more I decided to swap the rear lights for a set of pre-facelift ones I bought from good old eBay and put my private plate (courtesy of my girlfriend) on which I had on retention from my previous car.
Horrible “lexus-style” rear lights. Honda why did you change them on the facelift models!?
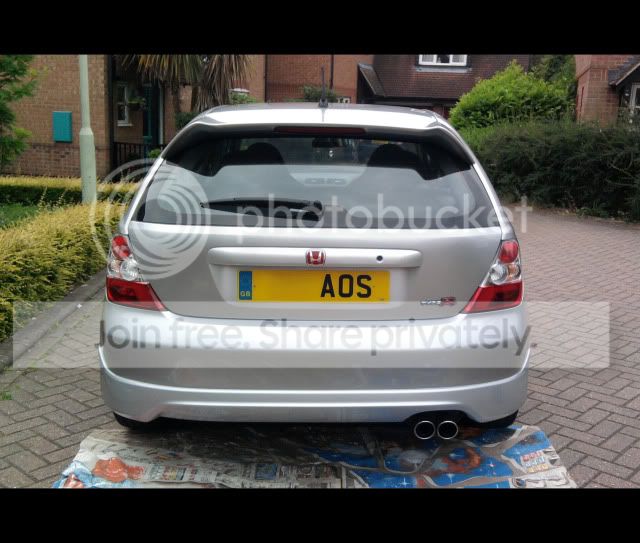
Pre-facelift lights made the rear look a hundred times better.
Honda Orgy mini meet


I got a new job which required me to do A LOT more driving so I came to the decision that I wanted to buy a daily driver so I wouldn’t put the mileage on the EP3. After a lot of searching and test driving old bangers (some terrible Nissan Micras) for around £500 I upped my price range to £800 and bought a 1991 1.4L Honda Civic GL.
Now named “Henry” by my girlfriend as in “Henry the Honda” he was in even better condition that the EP3 when I bought it! He only had 45K on the clock and you could’ve eaten your dinner out of the engine bay it was that clean! He must have been garaged and there’s no paint fade and is fully under sealed and he even has full electrics and an electric sunroof!
Back to the EP3 and I gave the engine bay a good clean as it was pretty dirty when I bought it and resprayed the rocker cover a long with some Spoon dress up accessories.
Before
Cover off
After
Now me and two of my best mates all had a Honda so we decided to form small local club as there seems to be more Honda’s in our area and a few other people we knew and worked with had Honda’s. In the end we came up with a club name (Honda Orgy) and sticker!
Now I had a daily I could start saving again and this time it was for suspension.
Again, after more research I decided I wanted to get the EP on coilovers and decided I wanted a set of Meister-R Zeta R’s as well as some rear camber adjusters and a JDM rear anti-roll bar. I also planned to buy all these parts, fit them and get a FRSU for the first Civiclife South Mimms meet this year.
Firstly I ordered some SPC camber adjusters from Eightspeed. Luckily I ordered these when I did (February) as Stevie had some real problems getting them from Eibach as they kept delaying the shipment date but after about 5 weeks I received them!
JDM anti-roll bar and OEM bushes from Hond-R
I had some white paint left over from my rocker cover so thought I’d spray the roll bar too!
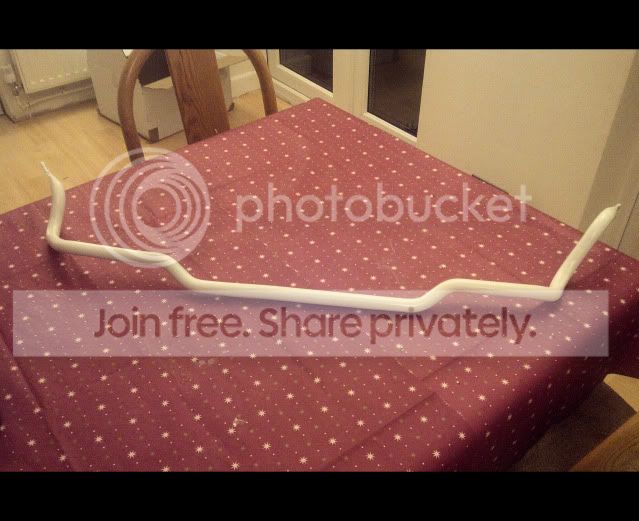
JDM ARB fitted
While saving for a set of Meister-R’s I ordered some new plates as I had put the ones I had on my first car which were screwed on but the screw holes didn’t line up on the EP so just stuck them on in the mean time.
This obviously looked a bit crap as you could see the holes in the plate so ordered a plain UK front plate and a U.S. import plate from DEMONPLATES and this fitted perfectly on the boot without going too low which some square plates have a tendency to do.
Old plate
New square U.S. import plate. Popped down to Halfords and bought more trusty “trial” packs of Velcro pads and fitted both plates using them so that I can switch the plates over in a couple of seconds.
After more saving I eventually got a big delivery!

Fitting the coilovers and adjusters wasn’t too difficult with the right tools!
Started with the front as this is what most people recommend, but the first problem I encountered was trying to split the old ball joint from the steering arm. After a lot of trying I ended up buying a ball joint splitter which was useless and ended up destroying the end of one my track rod ends which resulted in me going back to buy the other two types of spitter hoping that on of them would work.
The second one I used (the more expensive one at about £23) worked straight away with no problems at all, I just wish I had bought this in the first place!
If anyone is going to fit coilovers themselves and hasn’t got one of these already, I would strongly advise getting one as it makes life so much easier!
Old TRE with torn boot (due to not originally having a ball joint separator and me going at it with a number of different implements) and if you look closely you can see where the first ball joint separator ruined the end of the thread so I couldn’t put the nut back on.
New TRE’s ordered from IMPORTCARPARTS
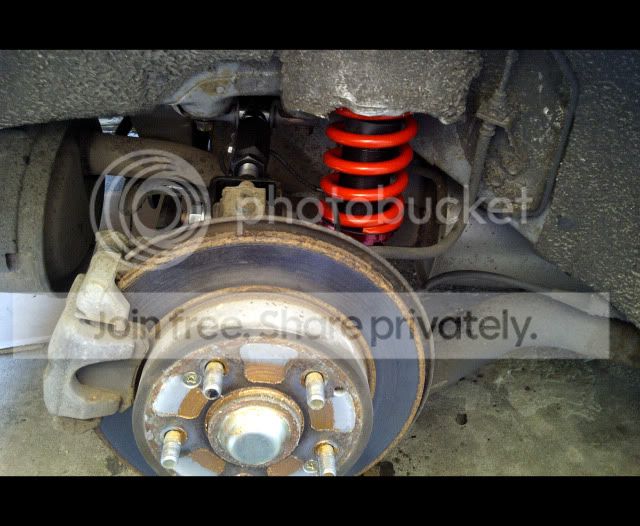
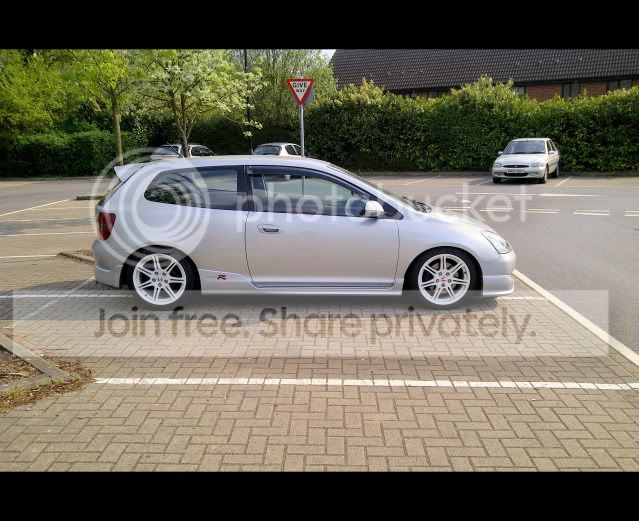
Took a quick photo after lowering the front back down and as you can see it’s a lot lower than it was from the factory!
Next I took it for a quick drive to make sure everything was OK, I must admit it felt terrible to drive but I had already booked in a FRSU with Hond-R for a couple of weeks time and this would also let the coilovers settle. I also ordered some Honda Access JDM deflectors from Hond-R while I was at it as they don’t keep them in stock (come directly from Japan) and planned on picking them up when I got my FRSU done.
I took a day off to go to Hond-R to get the EP3 set up, but had some problems! Hond-R actually take to car somewhere else who have a 6 point laser geometry machine or something but Russ said the car didn’t feel right with the settings I gave him and even worse the camber plate bolts seized in both directions so could be taken out or tightened up fully!
In the end I had to get an extra day off work, and stay in Oxfordshire for the night but Maz kindly found me a B&B nearby and booked me a room. :thumbup:
The next day Russ began fixing the seized bolt problem by removing both struts and drilling out 5 bolts which had become seized and replacing all 8 bolts with higher tensile bolts they had spare which originally came from a set of BC coilovers.
Damage to top mount bolts which look like they became serrated which is maybe why they seized if the chrome plating came off while doing up the bolts.

Close up
Top mount after struts refitted and new high tensile bolts in place.
Everything was all sorted now and I was able to drive home! Then I gave the car a good wash after I got back.
JDM wind deflectors fitted
Now I had everything sorted for Mimms I thought I might try to get the wheels refurbished and re-sprayed as they had some light scuffing and corrosion. I know someone who has his own workshop and does some spraying and wheel refurb’s on the side to make some extra money but he only had time to do it on the day before the Civiclife Mimms meet.
As you all probably know, modifying cars isn’t always straightforward and he ended up respraying them about three times because the paint was reacting with the vapour from the tyre gel I use was giving off (he warned me there might be a problem when I dropped my car off on the Saturday morning).
He kindly worked on them up until Saturday night and said he would see how they turned out in the morning after drying (this was before he had even lacquered them). I was starting to think that I wouldn’t be driving to Mimms anymore. I bought some new ‘H’ badges from the EPCIVIC forum as they were exactly the same as the originals (not the squarer type ones like on eBay).
I had also painted my callipers a few days before getting my wheels done, I rubbed down and painted them using Hammerite Smooth Black as I’m not too keen on brightly coloured OEM callipers and think a subtle colour looks better.
Calipers BEFORE
Calipers AFTER and white wheels.
So it got to Sunday (day of the Mimms meet) and the plan was for me and about 10 other Honda’s from my area to convoy down together but unfortunately I couldn’t meet them in time but thankfully my wheels were all sorted!
I was a bit worried driving down to Mimms, trying to catch up with the convoy as I thought I might get out of the car to find all the paint had sprayed up along the side of my car but luckily all was good when I got there. I even saw a few of my mates in the que getting into Mimms so I made good time on the way down!
Couple of Mimms photos.


Next on the list was something to make the car sound a little nicer, and after reading about the EP3’s breathing system I read that the OEM b-pipe is one of the more restrictive elements. So looking around the forum some more I found R8BYB’s thread and saw he had silenced and un-silenced b-pipes for sale, so sent him some money and about a week later I had an un-silenced R8BYB pipe sitting at home waiting to be fitted!
Comparison photos
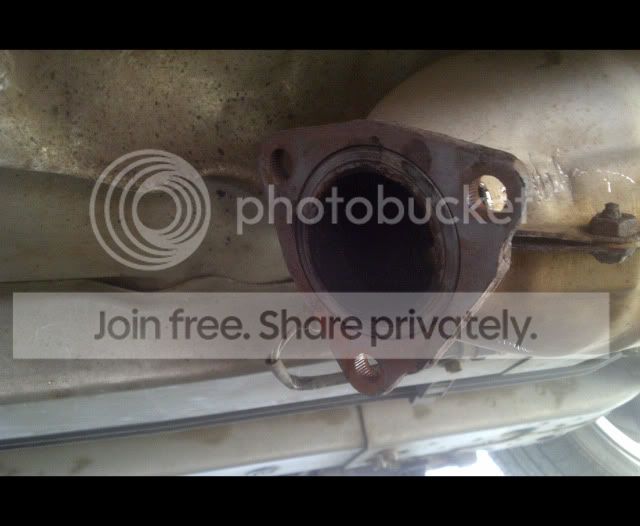
All bolts removed with no damage to the CAT!
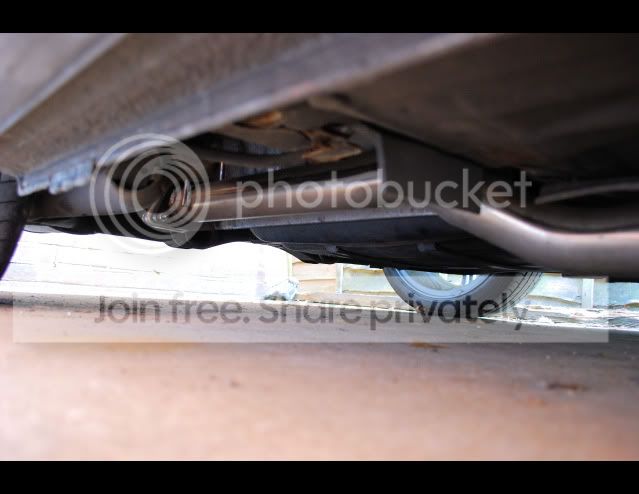
R8BYB b-pipe fitted
The bolts holding the OEM pipe in place were a right nightmare, the two at the back weren’t as bad but one did shear but I replaced all the bolts with new ones from Honda for a grand total of £1.92! The 3 bolts attaching the OEM pipe to the CAT were really difficult to remove, I ended up getting a friend of a friend to come round with a blow torch and knock them out for me and luckily the CAT wasn’t damaged in the process! The only other thing I needed extra was a Ford Transit (94’ onwards IIRC) gasket to sit between the new pipe and CAT.
I reset the ECU and started her up and WOW what a difference! The EP3 sounds so much better now I absolutely love it!
I done the Hondata airbox mod a few months before fitting the b-pipe and I felt like it changed the pitch and throttle response slightly in mid range and seems to sound a lot better with the b-pipe too.
A few weeks later I went for a little back road blast with the two other founding members of Honda Orgy!
Quick photo

Last weekend we decided to go to a Japanese sushi restaurant in London and gave us an excuse to have a little drive too! Stopped off afterwards to take some more photos.


We went for a quick blast through a tunnel while in London (not sure which one) and the b-pipe sounds AMAZING!! it put a massive smile on my face all night!
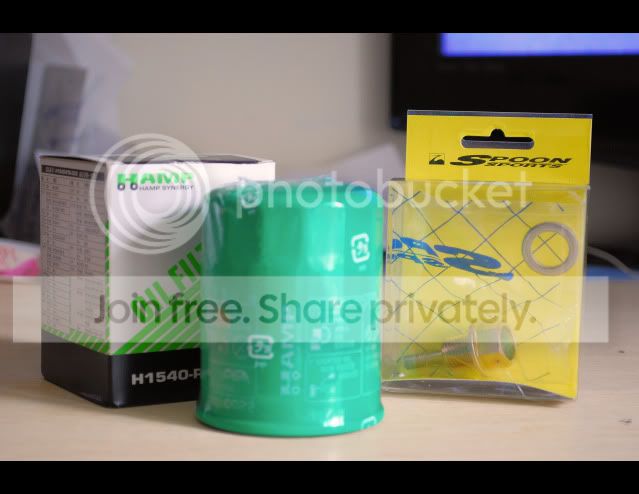
Got to service the car next weekend so got some bits along with 5L of Mobil 1 for £30 from a mate who works in the trade.
…and that’s everything I’ve done up until now.
Last edited by Aid1987 on Sun Jun 29, 2014 3:12 pm, edited 35 times in total.


